It’s finally here!! Day one of our Sun & Surf Tote sew along. Let’s get on our way to completing our tote before the weekend! Hopefully you’ve gathered all of your supplies, and have your fabric washed, dried, and ready to go!
Today, we will tackle cutting our fabric pieces, stabilizing them, and cutting the V.
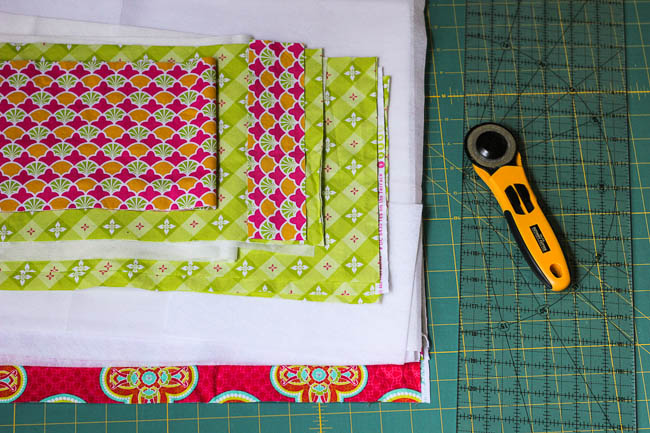
There are 21 pieces to cut, but thankfully they are all simple rectangles. I highly recommend using a rotary cutter, clear ruler, and cutting mat for this job. You’ll need to check your pattern for the measurements, but here is the breakdown:
- Of the main fabric #1, you’ll need 1 front and 1 back
- Of the coordinating fabric #2, you’ll need 4 outer pockets and 2 inner pockets
- Of the coordinating fabric #3, you’ll need 1 front lining, 1 back lining, 1 shoulder strap, and 1 button loop
- Of the heavy-weight stabilizer, you’ll need 1 front and 1 back
- Of the light-weight stabilizer, you’ll need 1 front, 1 back, 2 outer pockets, and 1 inner pocket
- Of the fleece, cut 1 piece that is 8”w x 6”h
- Cut 1 plastic canvas
Now, take your lovely stack of rectangles to the ironing board to fuse your stabilizer. Following the manufacturer's instructions, fuse the heavy-weight stabilizer to the main fabric front and back pieces. Fuse the light-weight interfacing to the lining front and back pieces, two of the outer pocket pieces, and one of the inner pocket pieces. As I stated in my supplies post, I am using fusible fleece for my heavy-weight stabilizer. Since I had plenty left, I used the fusible fleece for the shoulder strap padding. If you’d like to do the same, go ahead and fuse the padding to the middle of your shoulder strap. If you are using regular fleece, do not fear, I’ll show you where to insert it later.
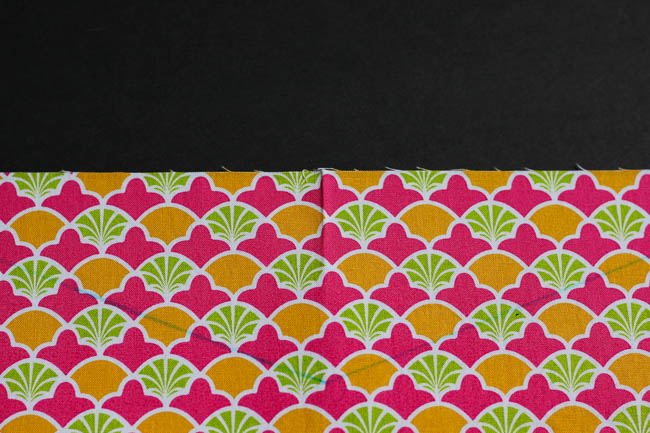
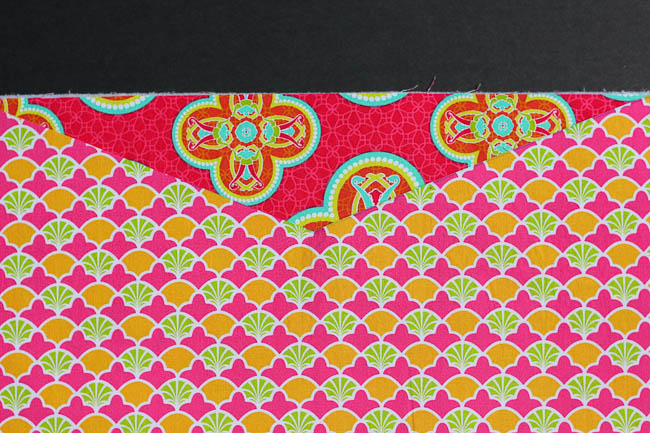
We’ve got one more cut before it’s time to sew. Let’s mark the V shape. First, locate the center of one lining piece by folding the piece in half matching the short sides. Press a short crease. From that center point, I made my mark 3” down from the top edge. Mark the tops of the V 3” in from each corner along the top edge, and join the marks creating the V. Cut out the triangle.
After marking and cutting the first lining piece, I layered it with a main fabric piece and used the triangle as a template to cut the main piece. Repeat until you have both main tote pieces and both lining tote pieces cut with the V shape.
Done for today! Tomorrow we’ll get to sew.
See the rest of the Sun & Surf Tote Sew-Along posts here:
Be sure to share your progress with us in our Facebook Group and tag your photos with #sunandsurfsewalong on Facebook and Instagram.


No comments:
Post a Comment