It may still be chilly outside, but sewing for Spring will hopefully give us warm, happy thoughts! We're kicking off the sew-along with a little prepping and cutting.
First, head to your computer and print out your pattern. Here are a few tips I like to use for printing:
- Print the instruction pages on two sides (front and back). For the Reese pattern, these are pages 2-7. I like to save ink by not printing the pretty cover and inspiration pages (1, 8-9), but that’s up to you. You may even choose to not print the instruction at all and have your digital copy handy while you sew.
- Print the pattern pages (10-24) on a single side only. Make sure your scaling is set to “none”.
- Above all, utilize the test squares to make sure your pattern has printed at the full scale.
Next, cut all pattern pieces of your desired size. Be sure to include the gray/shaded areas in your cuts.
Overlap the shaded areas, as indicated on the pattern pieces, and tape each piece together to form the full pattern pieces.
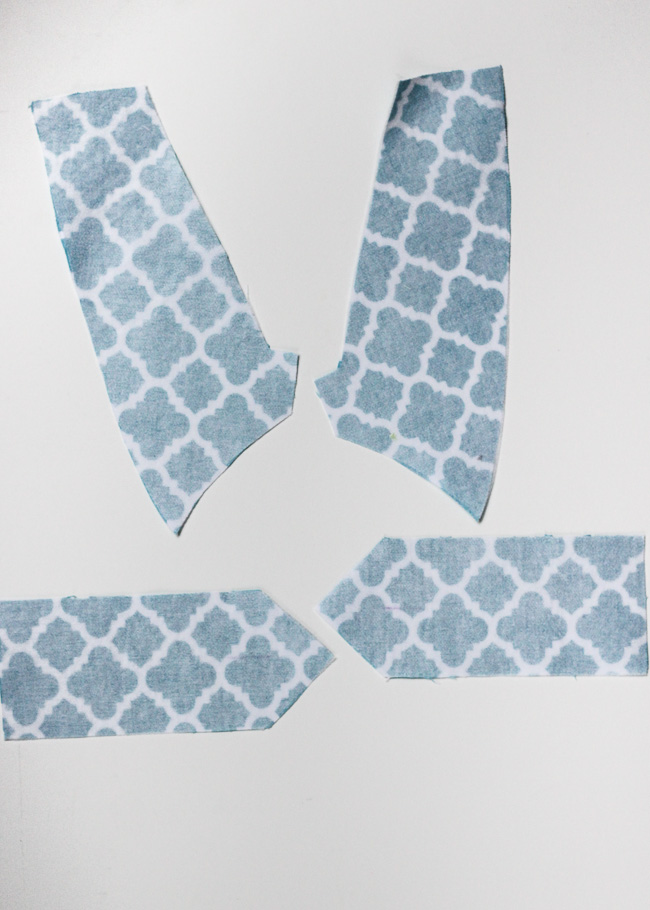
Now you are ready to cut into your pretty fabric! You’ll need to refer to the cutting diagram in the pattern for the layout. Here is a list of the pattern pieces you will need:
- Pattern Piece A – Front Bodice: Cut 2 on fold from fabric #1.
- Pattern Piece B – Back Bodice: Cut 4 from fabric #1.
- Pattern Piece C – Collar (View B): Cut 4 from fabric #2. Cut 2 from interfacing.
- Pattern Piece D - Button Tabs: Cut 4 from fabric #2. Cut 2 from interfacing.
- Pattern Piece E - Skirt: Cut 2 on fold from fabric #1.
- Pattern Piece F - Tie: Cut 4 from fabric #2. (Cut two of these on the reverse direction)
Transfer button marks to the front bodice and buttonhole marks to the button tabs and back bodice. Notch the back bodice where indicated.
Following the manufacturer's instructions, fuse interfacing to the wrong side of two of the button tab pieces. For view B, fuse interfacing to the wrong side of two opposite collar pieces.
Tomorrow we sew!
See the rest of the Reese Sew-Along here:


No comments:
Post a Comment