The Modkid Hailey pattern is usually reserved for warmer temperatures. Today, I am transforming the Hailey to a pullover for layering in cooler temps. It is quite a transformation, but the steps are pretty simple.
You will only need the Back Bodice pattern piece. Trace the Back Bodice pattern piece onto a piece of freezer paper or tissue paper to create a new pattern piece. Lengthen the top as desired using a well fitting shirt as a guide. Keep in mind you will have a 1/2" hem, and you may want the top to hit shorter than the top you will layer it with. I added 5.75" to this size 4 pattern piece.
Cut the front and back pattern pieces from your fabric. I recommend fleece or sweatshirt fabric for this look. Just be sure you have at least 25% stretch with good recovery.
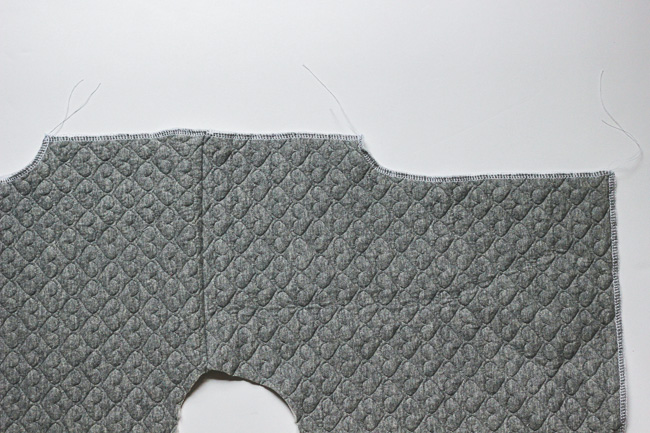
Sew the front piece to the back piece along the shoulders right sides together. Finish the seams.
Open out the top and finish all of the outer edges. If your fabric does not fray, you may skip this step.
Turn the underarm seams 1/2" to the wrong side and hem. Go slow along the curves. Repeat at all four underarm seams.
Next, fold the front bottom hem to the wrong side 1/2" and sew in place. Repeat for the back.
Fold the sleeves to the wrong side 1/2" and sew in place. Repeat for the opposite side.
For the mock turtleneck, you will need to cut a rectangle to fit the neckline. Measure the distance around your neck opening for the length. Mine measured 14.25". Add 1" for seam allowances. I used 5.5" for the total height. So, my rectangle was 15.25" x 5.5". Fold the neck right sides together and sew the short ends with a 1/2" seam allowance. Press the seam open.
Fold the neck in half along the long side with the right side facing out.
Place the neck band around the neck opening of the top right side together and sew in place. Be sure to use a stretch stitch here since the neck area with need to stretch overhead.
Fold the front over the back and stitch the front to the back under the arm opening. Stitch over your previous hem stitches.
Secure the sides together with 3 buttons spaced evenly on each side.
Done! Layer up your modified Hailey for those cooler temps! Don't forget this method would work for the Hailey Misses and Hailey Tween/Teen as well!


OMG! This is just too cute! I love the tutorial and of course the MODKID pattern!
ReplyDelete